Have you ever gazed upon a perfect rose and wished you could capture its beauty on paper? The art of drawing a rose, while seemingly complex, is a skill accessible to everyone, from the novice sketcher to the seasoned artist. This isn't just about lines on a page; it's about understanding form, light, and shadow, and ultimately, bringing a timeless symbol of beauty to life.
The allure of the rose transcends mere aesthetics. Its a symbol of love, beauty, and even resilience, making it a popular subject for artists of all levels. But how do you begin? This guide will take you through a comprehensive, step-by-step process, demystifying the art of rose drawing and providing you with the tools and knowledge to create your own stunning floral masterpieces. Whether you're aiming for a simple sketch or a realistic rendering, this article offers a versatile approach suitable for various skill levels and artistic goals. We'll explore different techniques, from basic shapes to advanced shading, ensuring you're equipped to bring the elegant rose to life on your chosen medium.
Let's delve deeper, transforming the seemingly daunting task into an enjoyable and rewarding experience. By the end of this guide, you'll not only know how to draw a rose but also understand the principles that underpin its beauty, empowering you to approach any drawing with confidence and skill.
Let's begin with a simple question: What are the core components of drawing a rose? The answer lies not in complex techniques but in a series of manageable steps. By breaking down the process into smaller, easier-to-manage stages, we can build a beautiful rose from the ground up. These steps involve understanding the basic structure of the flower, learning how to draw the petals, and integrating shading to convey depth and realism. Remember, even the most complex drawings are built from a series of simple shapes. As we journey through this, you'll discover that drawing a rose is an exercise in patience, observation, and, above all, enjoyment.
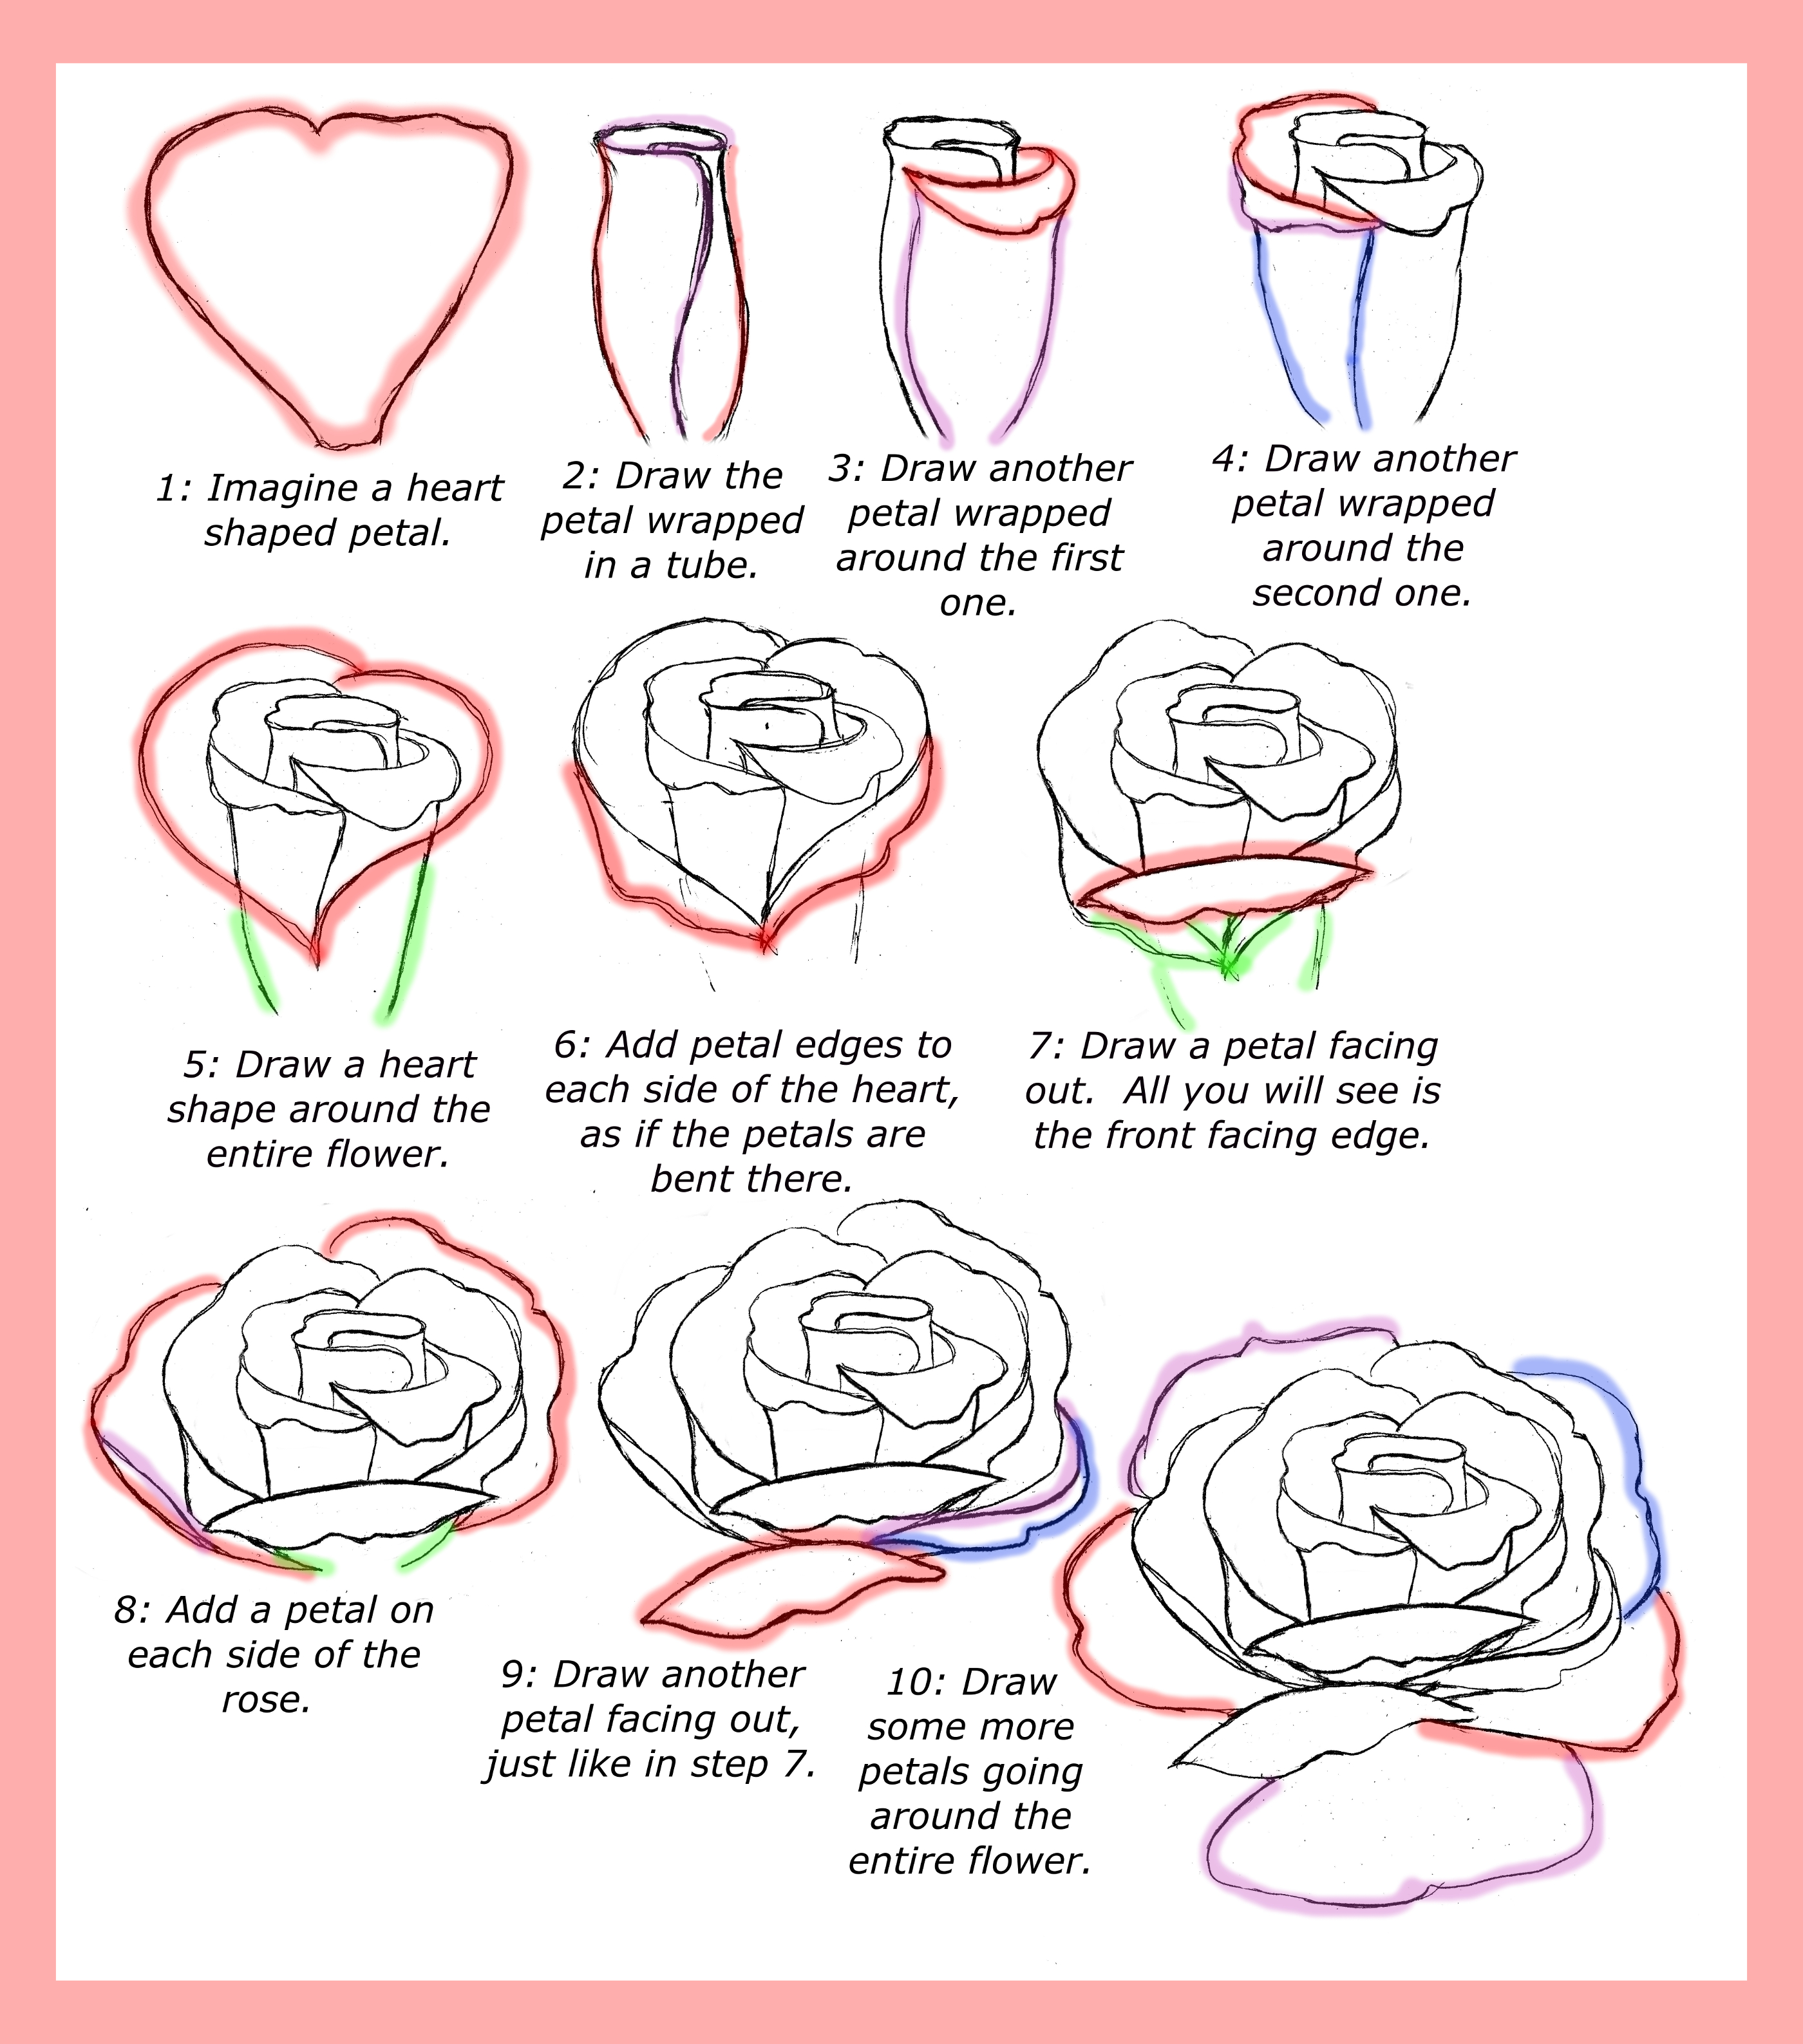
This tutorial offers an "easy step by step" guide. Well start by sketching a simple oval, the foundation of your rose. Then, we will add a small oval around the beginning oval, ensuring the bottom of the second oval aligns with the first. We will learn to draw small petals curving around the circle, understanding how they overlap and build the flower's form. The tutorial emphasizes the beauty of the process, with the goal of helping you easily create your own rose drawing. Whether it is for a special occasion such as Valentine's Day or Mother's Day, a rose drawing is always a great option.
Many find the act of drawing a rose a meditative process. You can try drawing a neuroart rose, which adds an interesting layer of complexity and creative expression. Another approach is the "black and white rose drawing," which is a classic. It offers a stark contrast that highlights the flower's elegant lines and intricate details. We'll explore methods for easy pencil sketches and realistic drawings alike, simplifying the complexities. Remember the beauty of rose is about expressing your creativity!
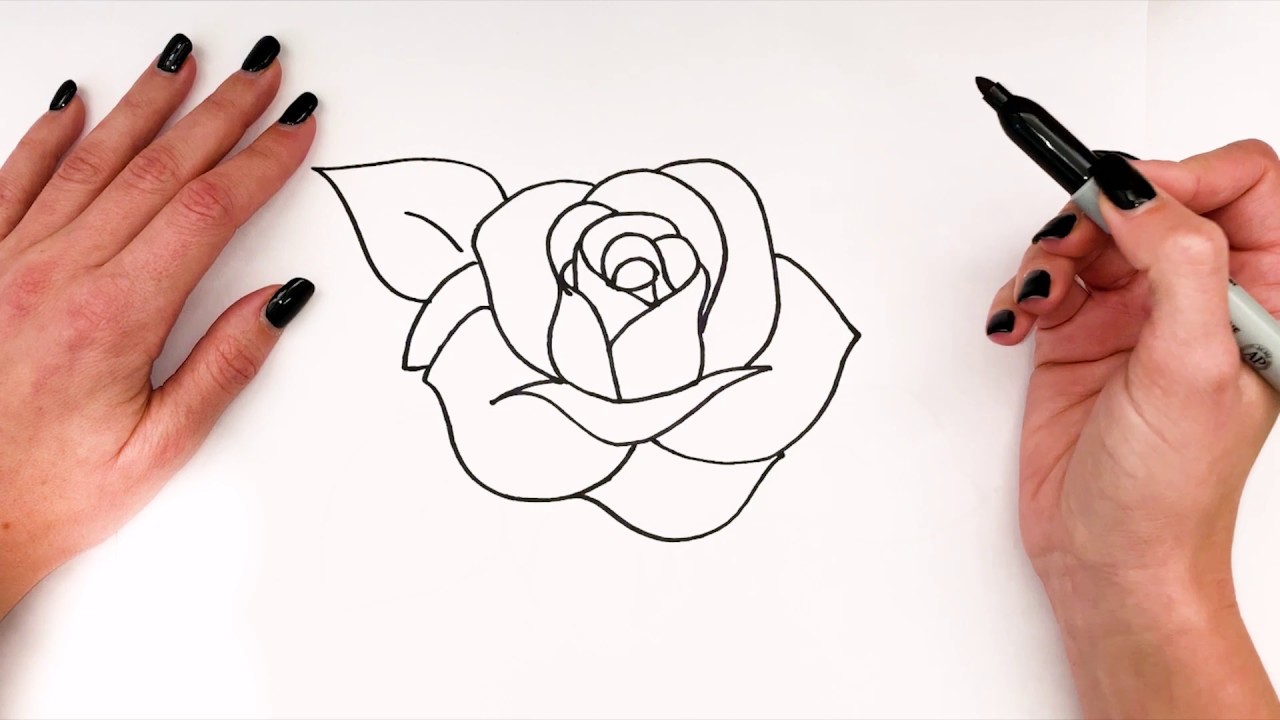
Before diving into the steps, let's take a moment to consider the essential elements of a successful rose drawing. The art supplies you may need include pencils, erasers, and blending tools. The core steps of drawing a rose involve sketching an oval shape, drawing a "u" shape underneath, and creating uneven, jagged crescent shapes around the oval to form petals. We'll include tips on drawing the inner parts of the rose, adding larger petals, and incorporating a stem and leaves. The final step involves adding color and tracing with a marker for the most refined look. For beginners, start with simple pencil outlines and doodles. The key to mastering rose drawing is practice and patience.
Mastering the art of drawing a rose takes time and persistence. The key to the perfect drawing involves practicing the steps and using overlapping curved lines to create an irregular spiral shape. You'll then trace the tops of the petals by extending a series of overlapping curved lines. This approach, perfect for beginners, enables you to create a unique rose, which can be achieved with a little bit of patience and practice.
Here's a compilation of information to help you navigate the creation of your rose drawing:
| Feature | Details |
|---|---|
| Basic Shape | Start with a small oval, followed by a 'u' shape below it, resembling a cup. |
| Petal Formation | Use uneven, jagged crescent shapes around the oval to create petals. |
| Inner Details | Draw a spiral line within the oval to represent the inner part of the flower. |
| Additional Petals | Continue adding bigger petals, building out the rose. |
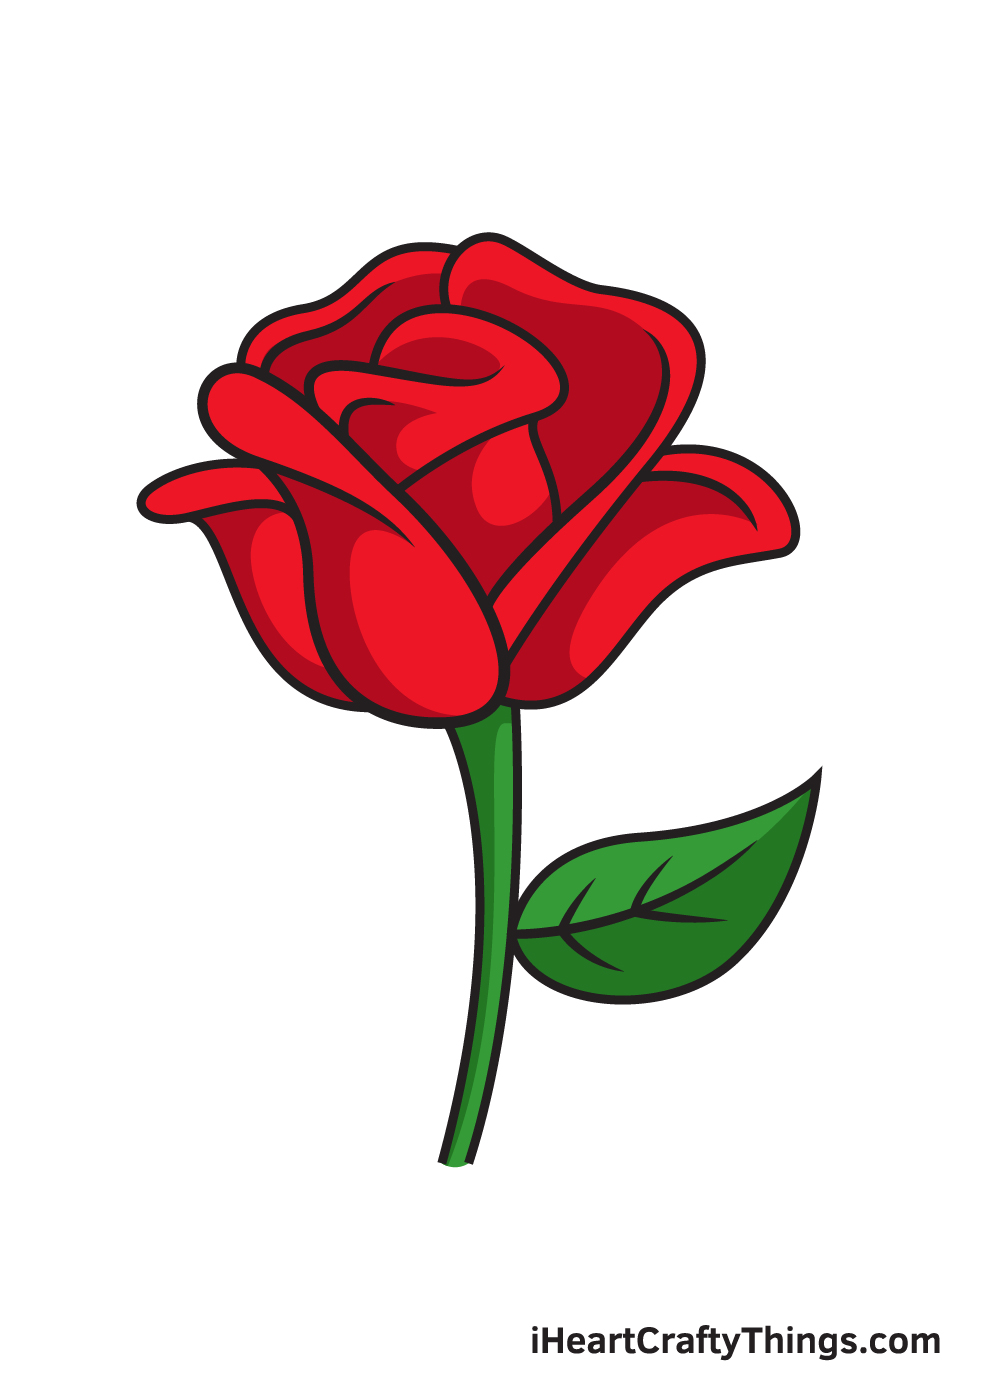
| Stem and Leaves | Include a stem below the petals and leaves on either side of the stem. |
| Coloring | Once the outline is complete, trace with a marker and apply color for a realistic finish. |
| Realistic Approach | Begin with the rosebud center, use overlapping curved lines, and extend lines for the petals. |
| Simplicity vs. Detail | Balance simplicity for beginners with realistic details for more advanced artists. |
| Practice & Variations | Adapt the techniques, try different rose styles, and enhance drawing skills. |
| Tools and Materials | Use art supplies such as pencils, erasers, and markers. |
| Overlapping Technique | Create depth by carefully drawing overlapping petals, one over the other. |
| Realistic Flower Outline | Sketching the rosebud centre is a start for the realistic flower outline. |
| Realistic Looking Rose | Follow the detailed pencil drawing for each step. |
| Additional tips | Remember to keep your strokes light. It's much easier to add definition later than to try and erase heavy lines. |
| Where to go from here | For more guides: how to draw a realistic rose flower and rose with a stem drawing tutorials. |
Following the simple steps can help you sketch a rose with details from the center to the stem and leaves and add color to make it realistic.
Consider drawing a rose for beginners or as an advanced artist, remember that it can be difficult. Start by understanding the basics to complete the drawing in the correct order. You might find it challenging at first, but with practice, this can be one of the most rewarding and meditative art forms to embrace.